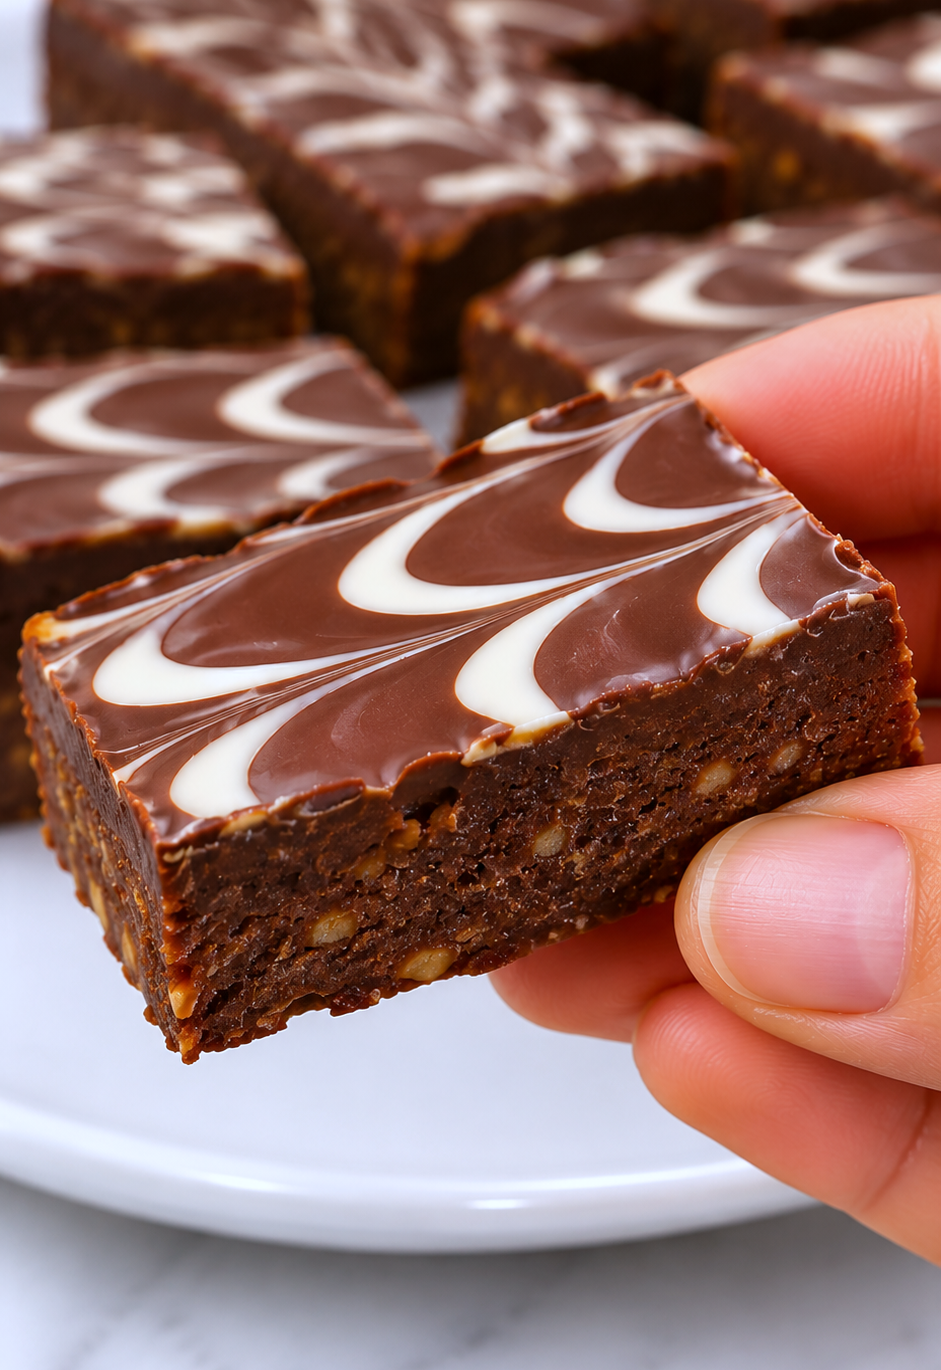
These Chocolate Date Walnut Bars are a delicious combination of naturally sweet dates, crunchy walnuts, and a smooth chocolate topping. The base is made with just two ingredients, creating a soft, chewy texture with a rich caramel-like sweetness from the Medjool dates. A generous layer of melted chocolate covers the top, while a delicate white chocolate feather decoration gives these homemade treats a beautiful finish.
One of the best things about this recipe is how simple it is to prepare. You don’t need an oven, complicated equipment, or a long list of ingredients. The dates and walnuts are blended together in a food processor, pressed into a square pan, and covered with melted chocolate. After some time in the refrigerator, the dessert becomes firm enough to slice into neat rectangular bars.
Whether you’re looking for an easy afternoon snack, a homemade treat to enjoy with coffee, or a simple dessert to share with family and friends, these no-bake bars are a wonderful choice. Their combination of chewy dates, nutty walnuts, and rich chocolate makes every bite satisfying.
Why You’ll Love These Chocolate Date Walnut Bars
These bars offer a naturally sweet alternative to many traditional chocolate desserts. Medjool dates provide plenty of sweetness and help bind the walnuts together without requiring additional sugar. The result is a dense, soft base with a pleasant nutty flavor, complemented by the smooth chocolate layer on top.
You’ll also appreciate how easy they are to customize and prepare ahead of time. The recipe uses only a few ingredients, and most of the preparation involves blending, spreading, and chilling. You can choose milk or dark chocolate depending on your preference, and the optional white chocolate decoration makes the finished bars look especially attractive for parties, gatherings, or homemade dessert gifts.
Ingredients You’ll Need
Each ingredient has an important role in creating the texture and flavor of these bars. For the best results, use soft Medjool dates and good-quality chocolate.
For the Date and Walnut Layer
- 300 g pitted Medjool dates: The main ingredient in the base. They provide natural sweetness, a soft texture, and the stickiness needed to hold the walnuts together. Make sure all the pits are removed before blending.
- 100 g walnuts: Add a delicious nutty flavor and a little crunch. They also balance the sweetness of the dates and give the base its structure.
For the Chocolate Layer
- 200 g milk or dark chocolate: Creates a smooth, rich topping that contrasts beautifully with the chewy date and walnut base. Milk chocolate gives a sweeter finish, while dark chocolate provides a deeper cocoa flavor.
- 1 teaspoon vegetable oil, optional: Helps make the melted chocolate slightly smoother and easier to spread. Use a neutral-flavored oil.
For Decoration
- 30–40 g white chocolate, optional: Used to create the decorative feather pattern across the chocolate topping. It adds a beautiful visual contrast and a touch of extra sweetness.
Step by Step Directions
Step 1: Prepare the Medjool Dates
Start by checking the texture of your dates. If they are already soft and easy to press between your fingers, you can use them directly. If they feel firm or dry, place them in a bowl of warm water and soak them briefly until softened.
Drain the dates thoroughly before using them. Removing excess water is important because too much moisture can make the base loose and difficult to slice. Pat them dry if necessary, then make sure all the pits have been removed.
Step 2: Blend the Dates and Walnuts
Add the pitted Medjool dates and walnuts to a food processor. Blend until the ingredients form a thick, sticky, cohesive mixture.
Continue processing until the walnuts are finely incorporated and there are no large pieces remaining. The mixture should hold together when pressed between your fingers. Scrape down the sides of the food processor if needed to ensure everything is blended evenly.
Step 3: Prepare the Baking Pan
Line a 20 × 20 cm (8 × 8-inch) square pan with parchment paper. Leave some extra parchment hanging over the sides so you can lift the finished dessert out easily.
Make sure the parchment covers the bottom and sides of the pan. This will prevent the sticky date mixture from sticking and make removing the bars much easier.
Step 4: Press the Date and Walnut Mixture into the Pan
Transfer the blended mixture into the prepared pan. Spread it across the bottom, then press it firmly and evenly using the back of a spoon, spatula, or your hands.
Pay particular attention to the corners and edges so the base has a consistent thickness. A firmly compacted layer is essential because it helps the bars hold their shape when sliced.
Smooth the surface as much as possible before adding the chocolate.
Step 5: Melt the Chocolate
Break the milk or dark chocolate into small pieces and place them in a heatproof bowl. Melt gently using a double boiler or microwave in short intervals, stirring between each interval.
Continue stirring until the chocolate becomes completely smooth. If you want a slightly thinner consistency that is easier to spread, add the optional teaspoon of vegetable oil and mix until fully incorporated.
Avoid overheating the chocolate, as this can affect its texture and make it difficult to spread evenly.
Step 6: Add the Chocolate Topping
Pour the melted chocolate over the date and walnut base. Use a spatula or the back of a spoon to spread it evenly across the surface.
Make sure the chocolate reaches all four corners and covers the entire base. Smooth the top gently to create an even layer that will look attractive once the bars are sliced.
Step 7: Create the White Chocolate Feather Decoration
If you’d like to add the decorative finish, melt the white chocolate gently and transfer it into a small piping bag. Cut a very small opening at the tip.
Pipe several parallel lines across the dark or milk chocolate while the top layer is still melted. Then take a wooden skewer and gently drag it through the lines in alternating directions to create a feathered pattern.
Work carefully and avoid pressing the skewer too deeply into the chocolate. The goal is to create a decorative design on the surface without disturbing the layer underneath.
Step 8: Refrigerate Until Firm
Place the pan in the refrigerator and allow the dessert to chill until the chocolate topping is completely set and firm.
The chilling time will depend on the thickness of the chocolate layer and your refrigerator, so check that the surface is no longer soft before removing the dessert from the pan.
Step 9: Remove and Slice into Bars
Once the chocolate has set, use the parchment paper overhang to lift the dessert out of the pan. Transfer it to a clean cutting board.
Use a sharp knife to cut the dessert into even rectangular bars. For cleaner edges, warm the knife slightly with hot water, dry it thoroughly, and wipe it between cuts. This helps the blade pass through the firm chocolate without creating excessive cracks.
Step 10: Serve and Enjoy
Arrange the sliced bars on a serving plate. The finished dessert should have a compact, chewy date and walnut base topped with a firm chocolate layer and a beautiful white chocolate pattern.
Serve chilled or allow the bars to sit at room temperature briefly if you prefer a softer center. Enjoy them with coffee, tea, or as a simple chocolate treat whenever you’re craving something sweet.
Substitutions and Variations
You can adjust a few ingredients to create different versions while keeping the same simple preparation method.
- Walnuts: Pecans or almonds can replace the walnuts. Both provide a pleasant nutty flavor, although the final texture will vary slightly.
- Medjool dates: Other soft, pitted dates can work, but they may differ in moisture and sweetness. If they are dry, soak them briefly and drain thoroughly before blending.
- Dark chocolate: Choose dark chocolate for a less sweet topping that balances the dates. Milk chocolate is a good option if you prefer a sweeter dessert.
- White chocolate decoration: Skip the decoration for a simpler finish, or use melted milk chocolate to create a contrasting pattern over a dark chocolate topping.
- Extra nutty flavor: Finely chop a few additional walnuts and sprinkle them over the chocolate before it sets.
Keep in mind that changing the date-to-walnut ratio can affect how firmly the base holds together, so make small adjustments if necessary.
Pro Tips for Perfect Bars
Use soft dates. Medjool dates should be moist and tender. If they’re too firm, briefly soaking them in warm water makes them easier to blend.
Drain the dates thoroughly. Excess water can make the mixture too sticky and prevent the base from setting firmly. Always drain and dry soaked dates before processing.
Blend until cohesive. The dates and walnuts should form a consistent mixture without large walnut pieces. This helps create bars that are easier to press and slice.
Compact the base firmly. Press the mixture evenly into the pan, especially around the corners. A loose base may crumble when you cut the dessert.
Spread the chocolate while melted. Work quickly enough to cover the entire surface before the chocolate begins to set. A spatula helps create a smooth, even finish.
Decorate before chilling. Add the white chocolate lines while the main chocolate layer is still melted so the feather pattern forms properly.
Use a warm, clean knife. Warming and wiping the blade between cuts helps create cleaner rectangular bars and reduces cracking in the chocolate topping.
Creative Serving Suggestions
These chocolate date and walnut bars are delicious on their own, but you can make them part of a more elaborate dessert spread.
Serve them alongside freshly brewed coffee, espresso, or tea for an easy afternoon treat. Their natural sweetness and rich chocolate topping pair especially well with unsweetened drinks.
For a dessert platter, arrange the bars with fresh strawberries, raspberries, chocolate truffles, or small pieces of dark chocolate. The fruit adds a refreshing contrast to the rich date and walnut mixture.
You can also cut the dessert into smaller squares instead of rectangular bars. This makes them perfect for parties, holiday gatherings, or bite-sized treats served after dinner.
If you’re preparing them as homemade gifts, place the fully chilled bars in individual paper liners and arrange them in a food-safe gift box. Their decorative chocolate topping makes them look lovely without requiring complicated presentation.
Keeping Your Bars Fresh
Store the bars in an airtight container in the refrigerator for up to one week. If stacking them, place parchment paper between the layers to prevent the chocolate topping from sticking to the bars above.
For the best texture, keep the container refrigerated and remove only the portions you plan to serve. Let the bars sit at room temperature for a few minutes before eating if you prefer a softer date and walnut center.
These bars can also be frozen for longer storage. Arrange them in a freezer-safe container with parchment paper between the layers, then freeze until needed. Thaw them in the refrigerator before serving to help maintain their texture and keep the chocolate topping from becoming too soft.
These easy no-bake chocolate date walnut bars are proof that a delicious homemade dessert doesn’t need a long ingredient list or an oven. With naturally sweet dates, flavorful walnuts, and a smooth chocolate topping, they’re simple to make and wonderful to share. Prepare a batch ahead of time, keep it chilled, and enjoy a satisfying chocolate treat whenever you like!


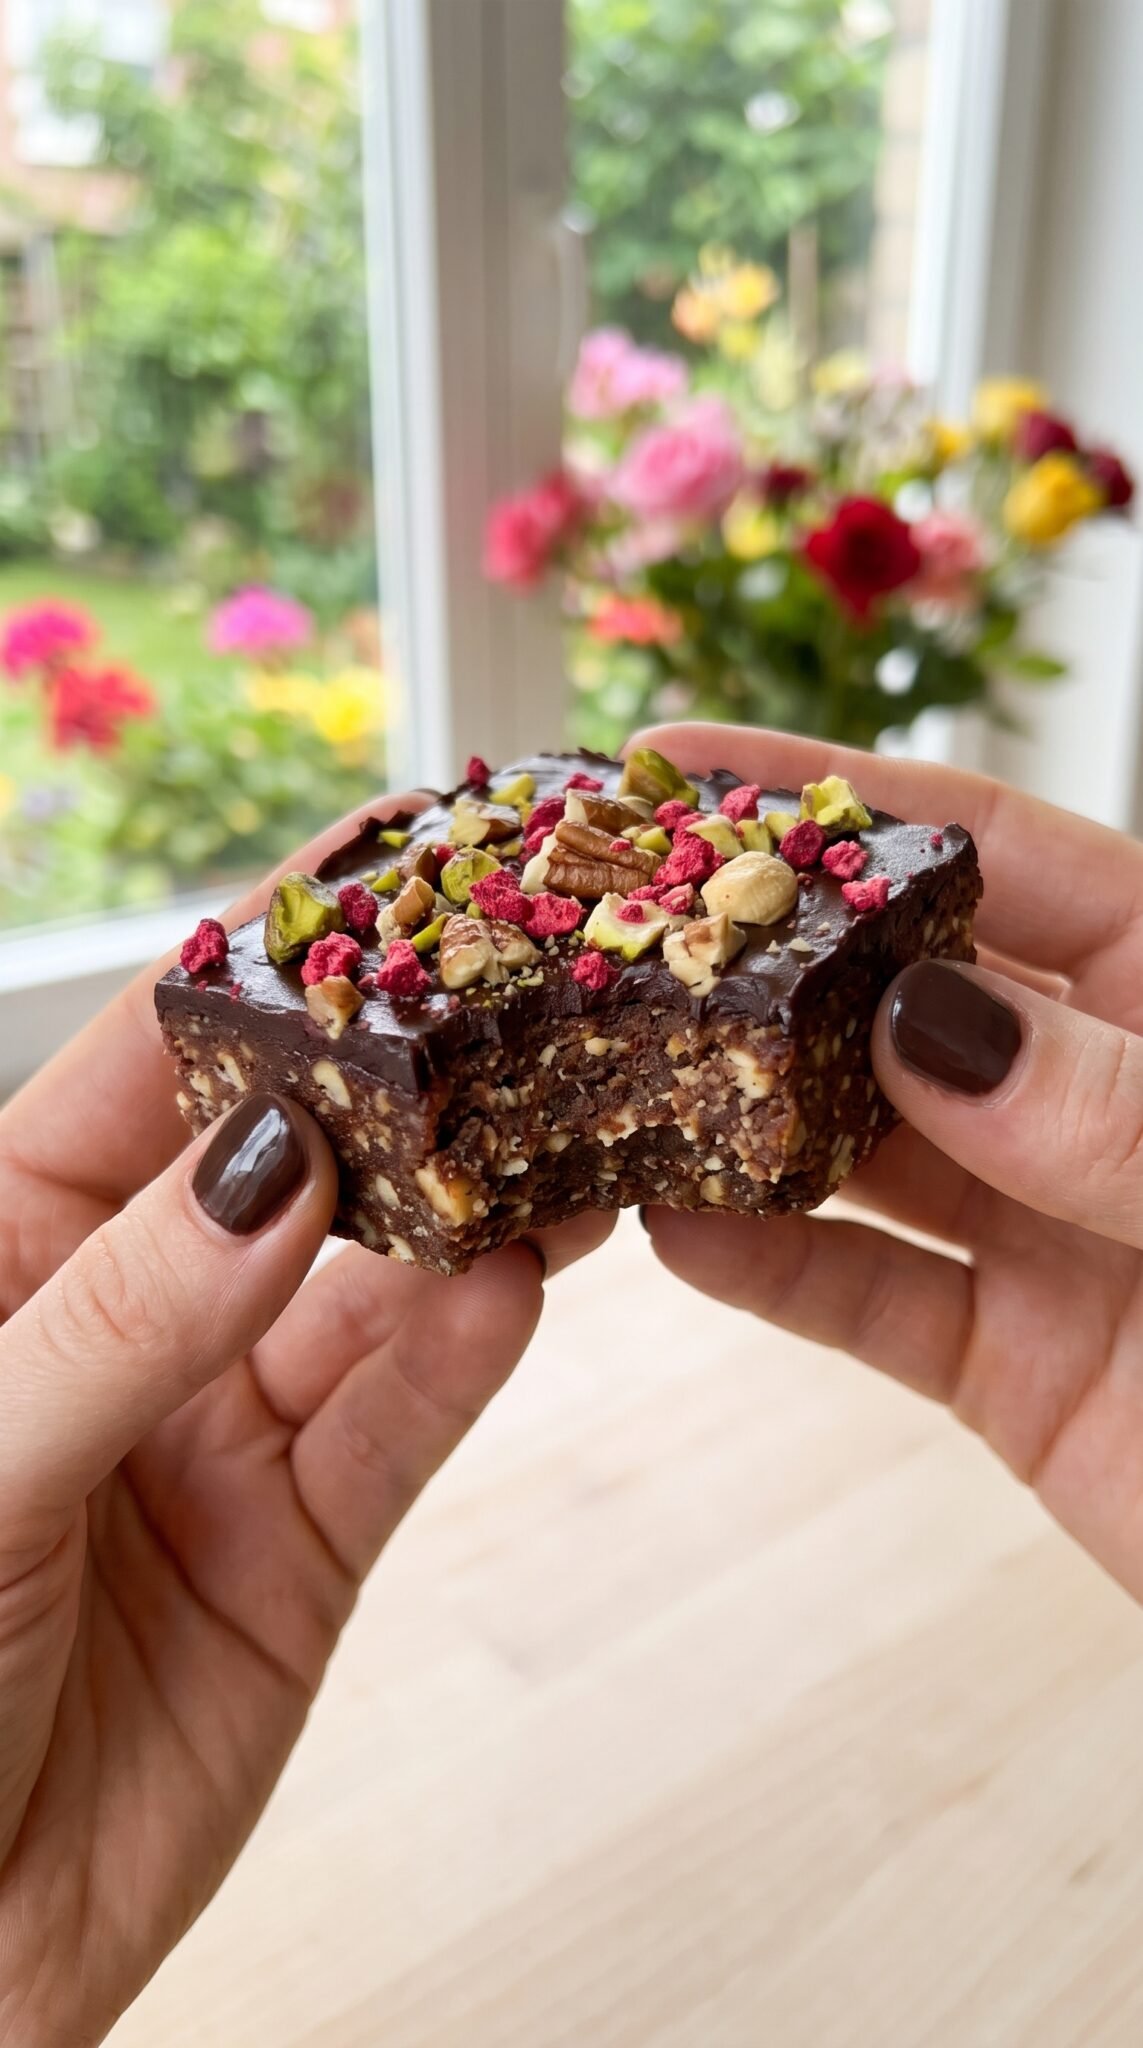


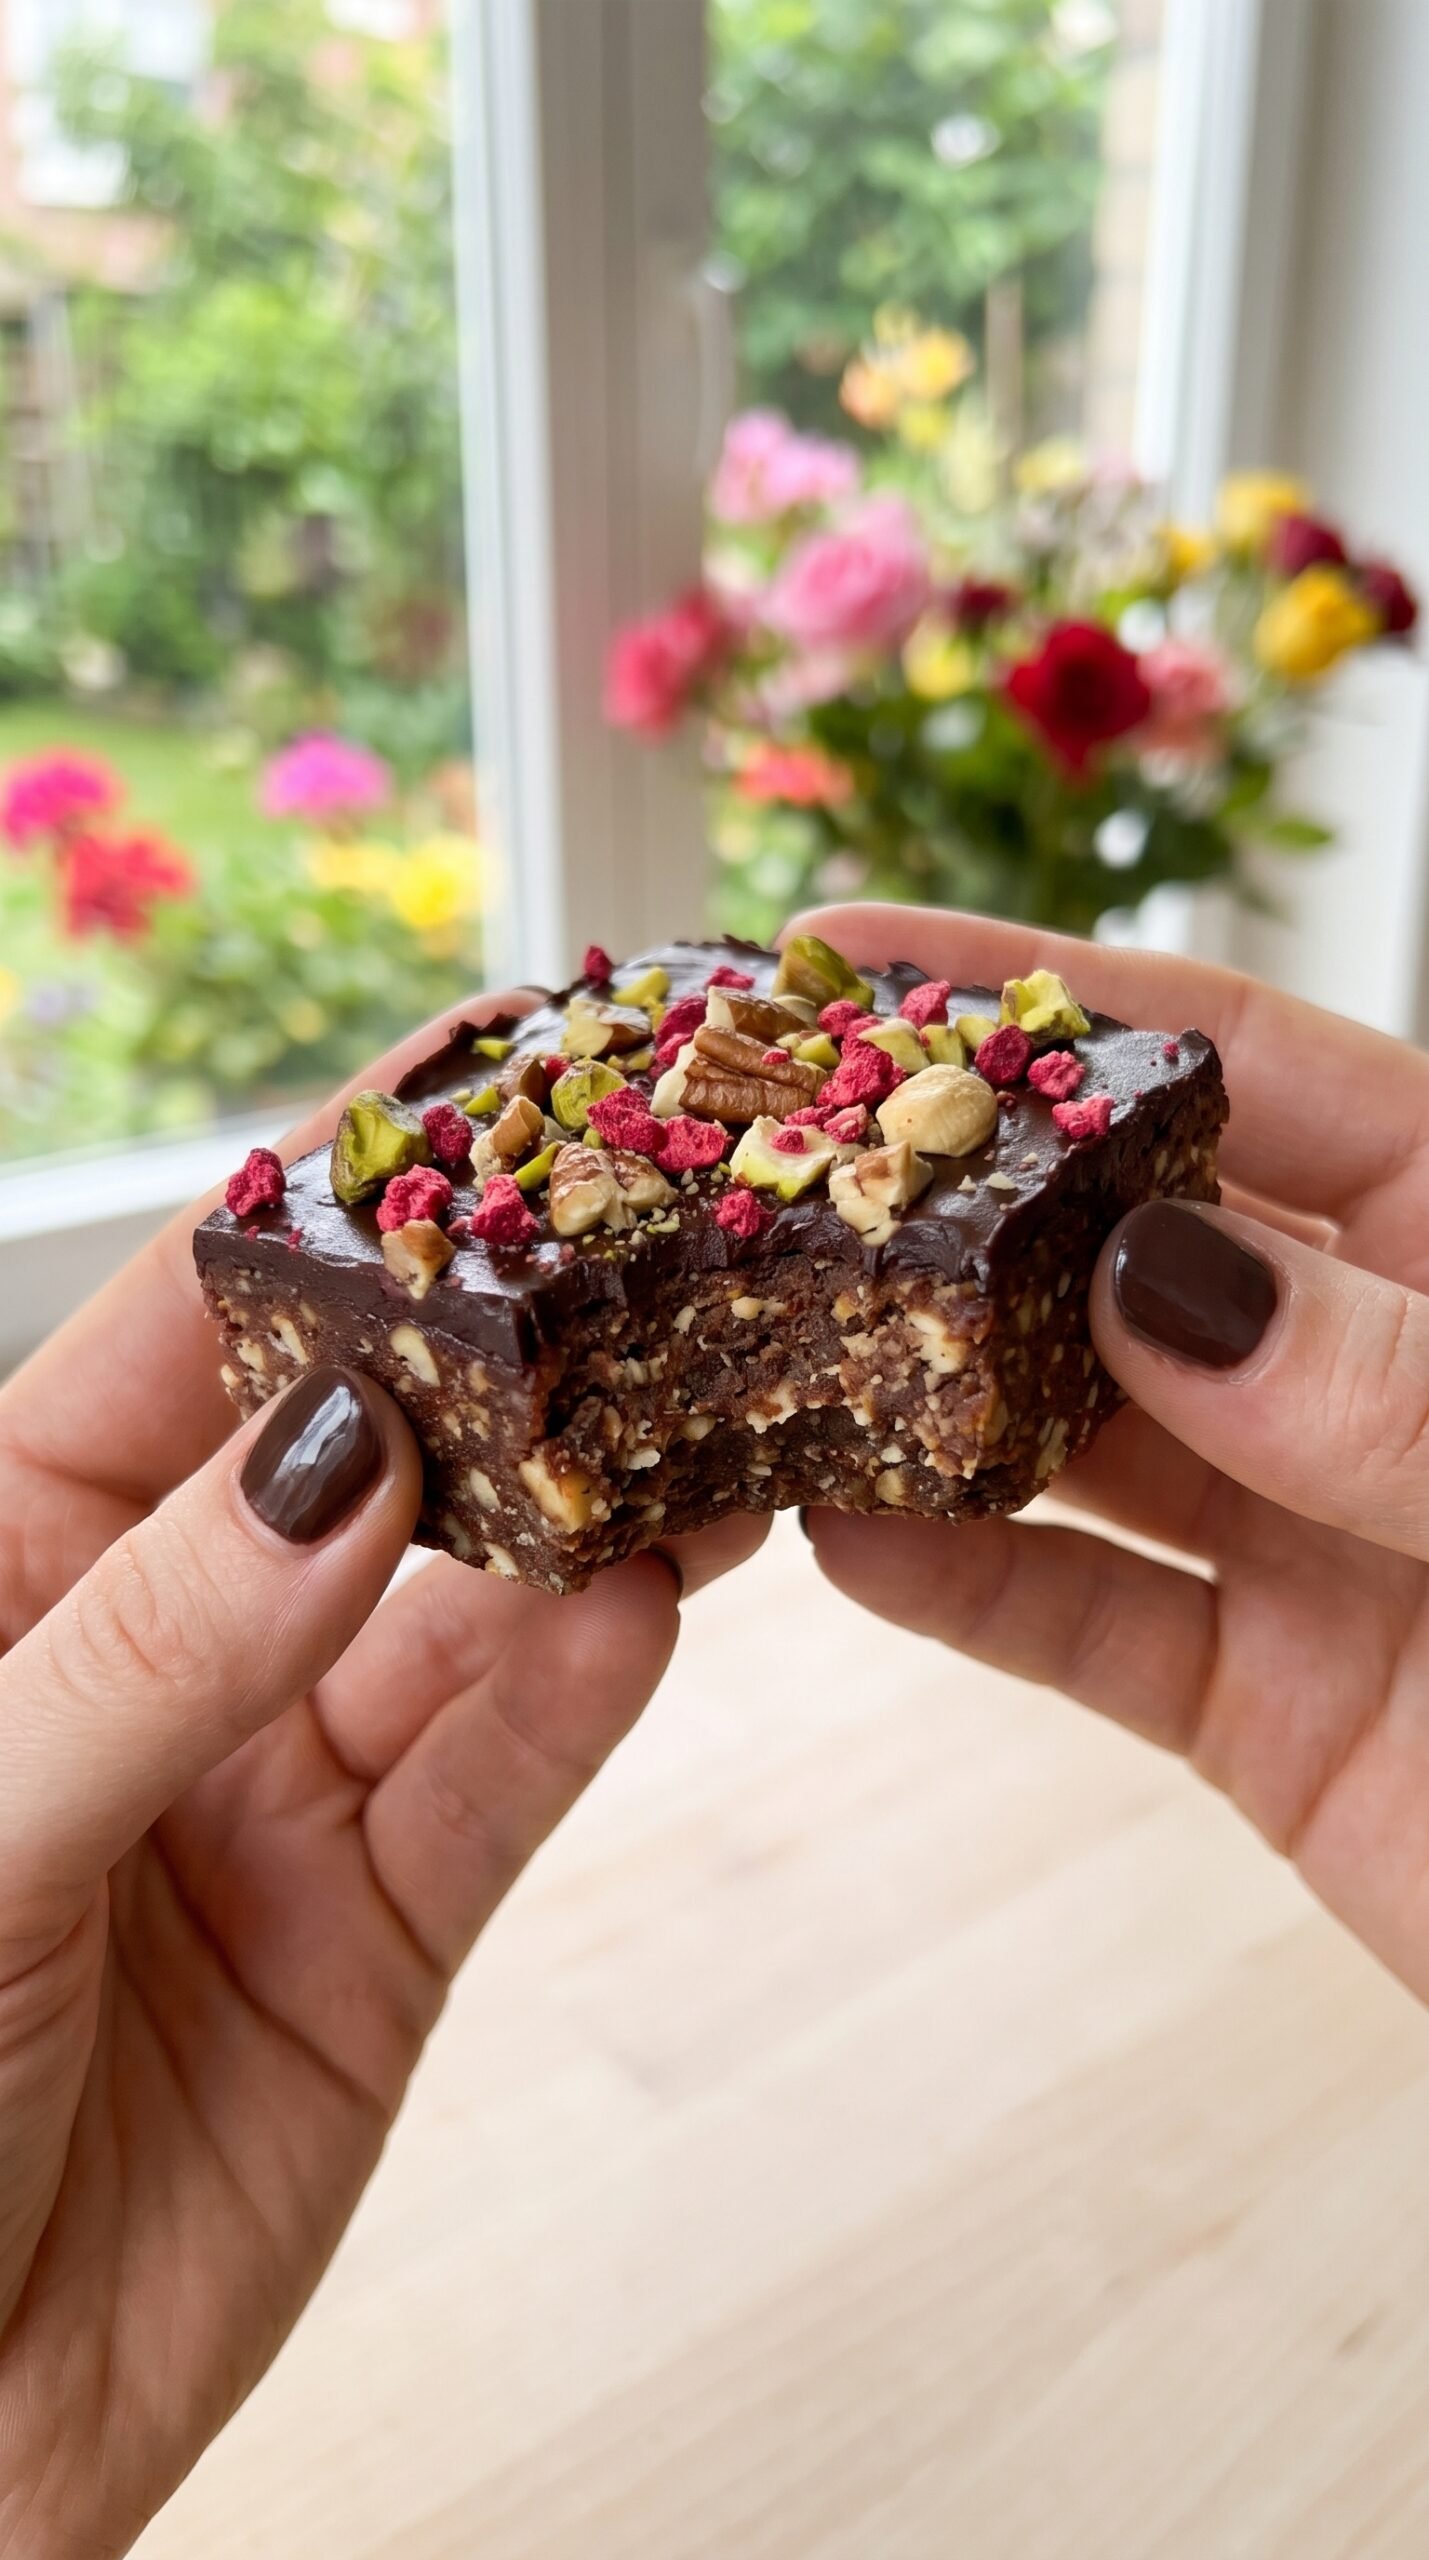


2 thoughts on “Chocolate Date Walnut Bars”
How many calories please?
Approximately 176 calories per bar, assuming the recipe is cut into 16 bars. 😊❤️